
To replace windows in New Jersey, start by budgeting and measuring accurately. Get necessary permits if resizing. Remove old windows cautiously, then do a dry fit. Caulk, set, and secure new windows, and finish by sealing and adding trim.
Table of contents
Preparing for the Project
Preparing for a window replacement project is crucial for its success. Proper preparation minimizes disruptions and ensures that the actual installation goes smoothly. Here’s a deeper look into the essential preparation steps:
Setting a Budget
The importance of budgeting cannot be overstated; it helps prevent costs from spiraling out of control and keeps your project on a steady course. To craft a reliable budget, start by researching average market costs for the kind of windows you want.
Then, solicit multiple quotes from contractors to gauge the going rates for labor and materials in your area. It’s also wise to add a contingency buffer of about 10-20% to account for unexpected costs that may arise during the project.
Take Accurate Measurements
When it comes to window replacement, one of the non-negotiable steps in the process is taking precise measurements. Incorrect dimensions can lead to a plethora of problems, from delays in your project timeline to unexpected costs for adjustments.
Measuring Width, Height, and Depth
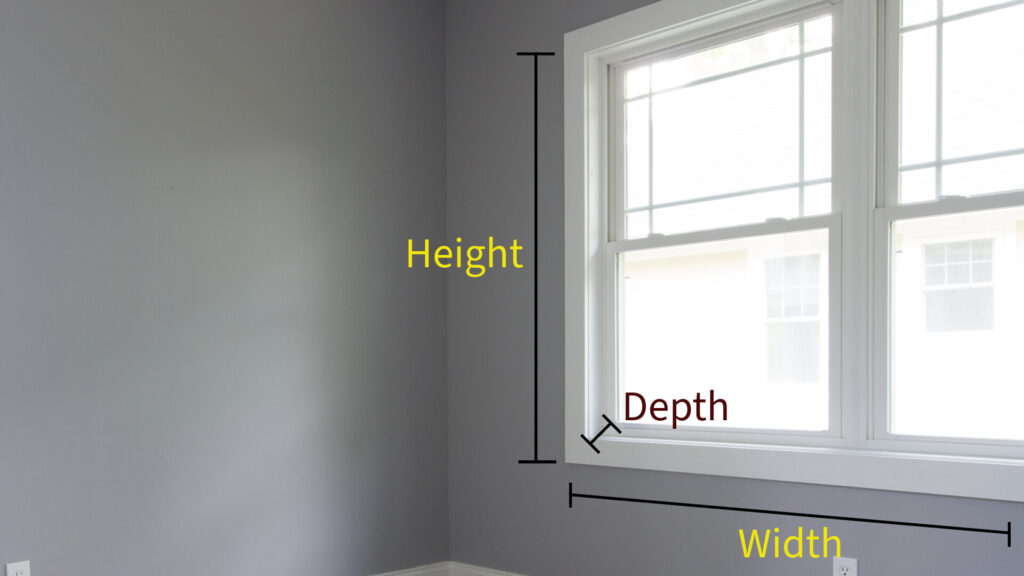
Getting accurate measurements is a cornerstone of any successful window replacement project. Here, we combine the essentials of measuring the three key dimensions: width, height, and depth.
For width, measure at the top, middle, and bottom of the existing frame and use the smallest figure. Height also requires three measurements—at the left, middle, and right sides of the frame—with the smallest number being your go-to. Depth, the distance from the innermost to the outermost points of the frame, should similarly be measured at three different places.
The smallest measurement in each category should be used to ensure a precise fit for your new windows. Always double-check your measurements to minimize the risk of errors.
Permit Requirements
In New Jersey, the necessity for building permits for window replacements is largely determined by the scope of your project.
If you’re planning to alter the size of your existing windows, create new window openings, or expand a window horizontally, obtaining a permit is a must. These changes could have structural implications that requires official oversight.
On the other hand, if you’re simply replacing old windows with new ones of the same size, or using inserts that fit into your current frames without requiring any structural adjustments, you generally won’t need a permit (Source).
It’s essential to consult your local building department to stay updated on the latest rules and avoid potential fines or complications.
Tools and Materials
Before you kick off your window replacement project, it’s essential to gather all the tools and materials you’ll need for a smooth, efficient installation process. From measuring tape to caulk, each item has a specific role to play in ensuring the success of your project.
- Replacement Windows: Pre-sized or custom, depending on your needs.
- Caulk: For sealing gaps between the window frame and the wall.
- Shims: To adjust and level the window during installation.
- Screws and Nails: For fastening the window securely.
- Paint or Finish: Optional, for aesthetic purposes.
- Tape Measure: For taking accurate dimensions of your window openings.
- Utility Knife: Useful for cutting away old caulking or paint.
- Pry Bar: To remove old window frames or sashes.
- Hammer and Nails: For securing the new window in place.
- Level: To ensure your new window sits perfectly horizontal and vertical.
- Screwdriver or Drill: For fastening screws and making pilot holes.
- Caulking Gun: To seal gaps and ensure insulation.
If you’re taking the DIY route, always remember to read through your specific window manufacturer’s installation guide for any specialized tools or materials that might be required.
Removal of Old Windows
One of the first and most crucial steps in a window replacement project is the proper removal of your old windows. This phase sets the stage for a seamless installation of your new windows, ensuring that they fit correctly and function as intended.
Safety First
Before you even pick up a tool, prioritizing safety is paramount. When removing old windows, the risk of encountering broken glass or splinters is high.
Always wear a pair of sturdy gloves to protect your hands and safety glasses to shield your eyes from potential hazards. It’s a small preparatory step, but one that lays the foundation for a secure and successful window replacement project.
Consider wearing steel toed boots, long pants, and long sleeve shirts as well. These clothes will potentially protect you from potential glass pieces flying at you in the event that something goes wrong.
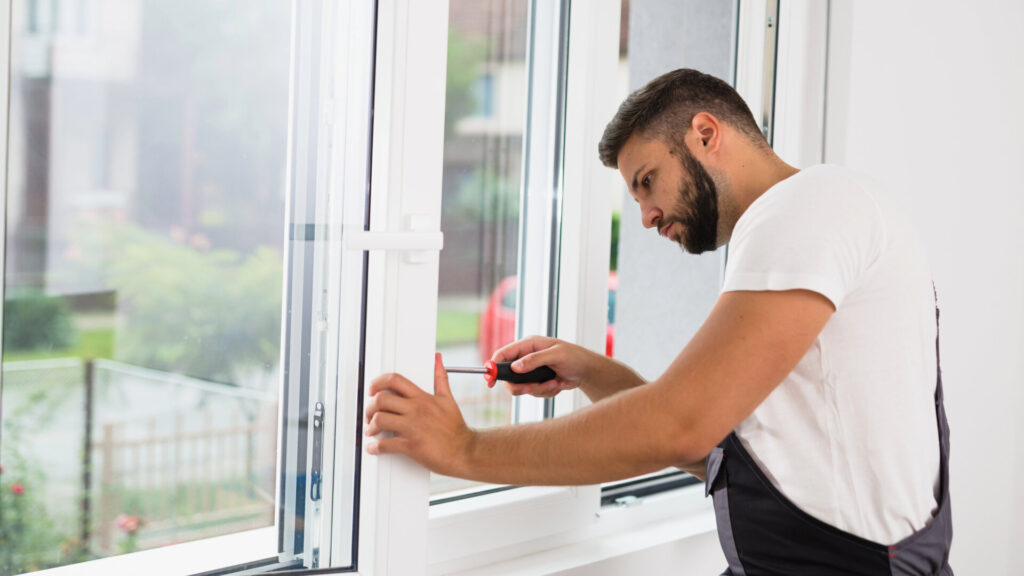
We do not recommend replacing your windows yourself. This is a dangerous task and we recommend using a professional who has the appropriate training, safety equipment, and certifications to do the job.
Removing the Sashes

When it comes to window replacement, taking out the old sashes—the moving parts that hold the glass panes—is an important step. Start by unlocking the window and lifting the lower sash slightly. If your windows have balances or springs, release them cautiously, as they can be under tension.
Next, tilt and remove the lower sash, followed by the upper one. This clears the path for your new windows and sets the stage for a successful installation.
Clean the Opening
Once the old sashes are out, your next step is to clean the window opening thoroughly. This is crucial for ensuring that your new windows fit perfectly and function well. Remove any lingering debris, old nails, or screws from the frame. Scrape away residual caulk and paint to create a clean surface.
Installing the New Window
Now that you’ve removed the old windows and prepared the opening, you’ve arrived at the pinnacle of your project: installing the new windows. This stage is where your home starts to reap the benefits of improved insulation, aesthetics, and functionality.
Dry Fit
Before anything else, place your new window into the opening to confirm a proper fit. If it’s off, you’ll need to make adjustments to either the window or the opening itself. This preliminary step saves you from future headaches.
Applying Caulk
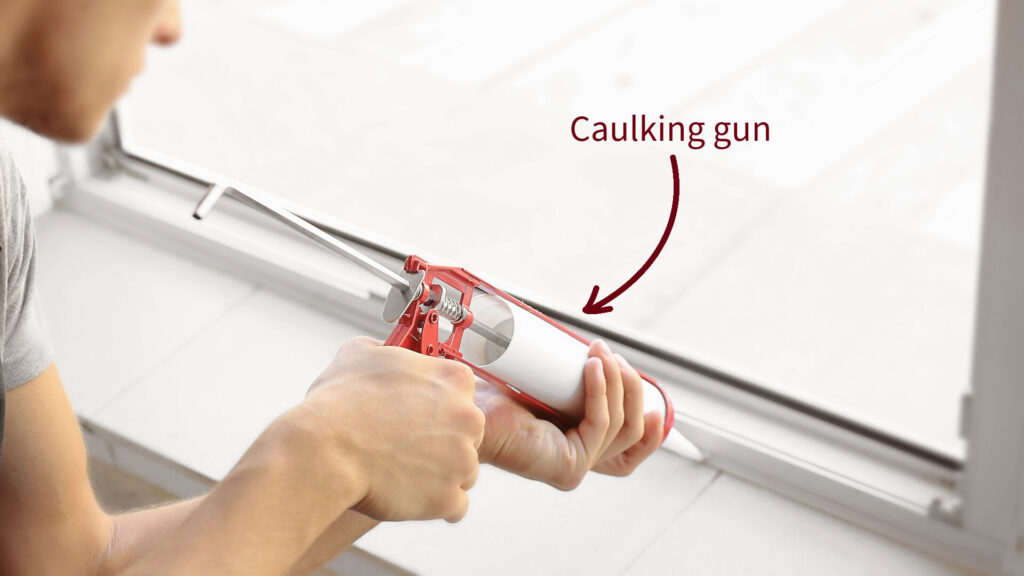
Arm yourself with a caulking gun and apply a neat bead of caulk along the inside edge of the window sill and the sides of the window opening. This provides the initial sealing layer for the new window.
Insert the Window
Now, carefully lift your new window and nestle it into its designated opening. Make sure it sits flush with the caulk you’ve just applied.
Level and Secure
Take out your level and confirm that the window is both horizontally and vertically aligned. Once you’re certain, secure the window using screws or nails as appropriate.
Seal the Edges
To ensure your window stands up to the elements, apply an additional layer of caulk around the edges of the window. This eliminates gaps and creates a weather-tight barrier.
Attach Trim and Casing
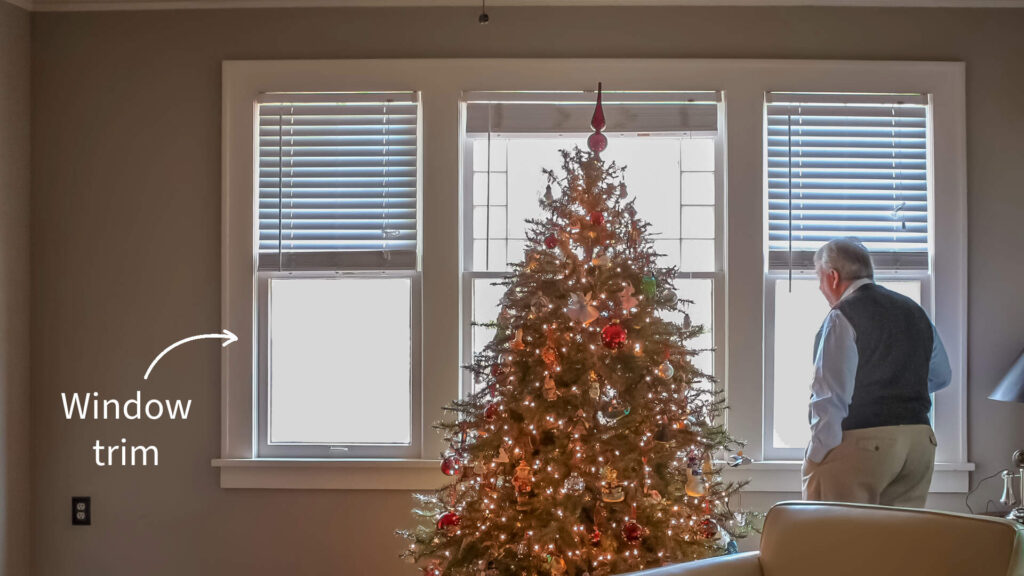
The final flourish involves reattaching or installing new trim and casing. This step brings aesthetic completion to your project and masks any fasteners or gaps that may be visible.
Finishing Touches
While these final steps are not strictly mandatory, they go a long way in ensuring that your new window is not only securely installed but also aesthetically and functionally integrated into your home.
Insulate
Start by adding insulation around the frame to prevent drafts and improve energy efficiency. You can use fiberglass, foam, or other insulating materials that best suit your window type.
Use Weatherstripping
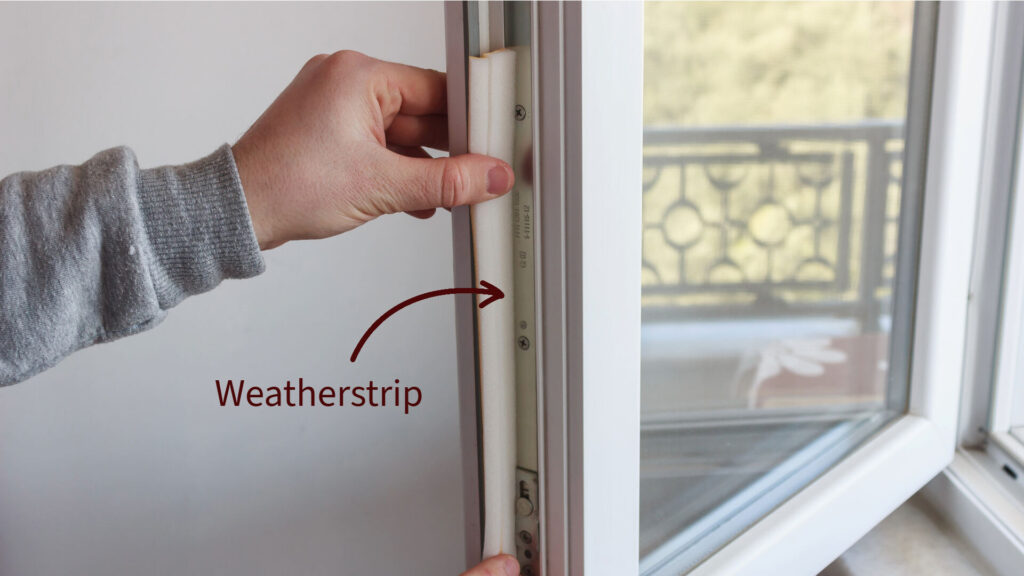
Reinforce your window’s weatherproofing by applying weatherstripping around the edges. This step further eliminates potential gaps and enhances the window’s insulation and draft protection.
Conclusion
Replacing windows in New Jersey is a multi-faceted task that requires meticulous planning and execution. From setting a budget to choosing the right tools, every step plays a pivotal role in the project’s success.
Through this comprehensive guide, you’ll be well-equipped to tackle each phase of the process, whether you’re a DIY enthusiast or hiring a professional contractor. The end result will be new windows that not only improve your home’s aesthetics but also its energy efficiency and functionality.